Ever stared at your tarnished pots and thought, ‘There’s gotta be a way to restore you to shiny glory?’ Enter our ‘Checklist for Perfect Cookware Restoration.’ We dived into the Reddit community to unearth those kitchen secrets you can’t cook without. Whether you’re dealing with burned bits or dull finishes, we’ve got proven techniques to transform your old cookware into gleaming essentials. So, put on your restoration gloves and let’s dive into a treasure trove of DIY tips. Ready to make those pans shine again? Let’s get cookin’!
Key Takeaways
- Turn tarnished cookware into kitchen bling with this step-by-step restoration guide.
- Discover the secret sauce to cleaning pots using tips Redditors swear by.
- Thinking of tossing that old pan? Think again—restore it to a mirror shine!
- Get ready to impress: Learn professional cleaning techniques that’ll breathe life into your cookware.
- Fighting rust or stains? Get the right fixes to make your pots gleam like new.
- From basic cleaning to deep restoration, we’ve got every method covered!
- Who knew vinegar and baking soda were the dynamic duo of cookware care?
Essential Assessment: Evaluating Your Cookware’s Restoration Potential
You know that moment when you’re staring at a pile of tarnished pots and pans, wondering if they’re destined for the trash or if there’s hope for revival? That’s exactly where cookware restoration begins – with an honest assessment of what you’re working with. Before diving into any cleaning magic tricks that Reddit users swear by, you need to determine which pieces are worth the effort and which restoration techniques will work best for your specific situation.
- Material Identification First: Different cookware materials require completely different approaches – stainless steel responds beautifully to certain cleaners, while cast iron needs special handling, and non-stick surfaces have their own rules entirely.
- Damage Level Assessment: Surface stains and water spots are easily fixable, but deep scratches, warped bottoms, or compromised non-stick coatings might indicate it’s time to let go and invest in new pieces instead.
- Safety Considerations: Check for any structural damage like loose handles, cracked surfaces, or rust that goes beyond surface level – these safety issues can’t be fixed with cleaning alone.
- Cost-Benefit Analysis: Sometimes the time and materials needed for restoration cost more than replacement, especially for lower-quality cookware that might not last long even after restoration.
- Sentimental Value Factor: Family heirloom pieces or high-quality cookware with emotional significance often justify extra restoration effort, even when replacement might be more economical.
Gathering Your Restoration Arsenal: Tools and Materials That Actually Work
Let’s talk about building your cookware restoration toolkit – and I’m not talking about buying every fancy gadget advertised online. The most effective restoration arsenal combines proven cleaning products with the right tools, based on what actually works according to experienced home cooks and cleaning enthusiasts. You’ll want to stock up on versatile cleaners that can handle multiple materials and situations, plus the right scrubbing tools that won’t damage surfaces while still providing enough abrasive action to remove stubborn buildup.
- Multi-Surface Cleaning Powerhouses: Stock up on oxalic acid-based cleaners that excel at removing mineral deposits, water stains, and surface oxidation from stainless steel and other metal cookware without harsh scratching.
- Specialized Scrubbing Tools: Invest in different grades of scrubbing pads, from gentle microfiber cloths for delicate surfaces to more aggressive steel wool for heavily damaged pieces that can handle the extra abrasion.
- Natural Cleaning Alternatives: Keep baking soda, white vinegar, and coarse salt on hand for gentler restoration methods, especially useful for maintaining cookware between deep cleaning sessions.
- Protective Gear Essentials: Rubber gloves, eye protection, and proper ventilation aren’t optional – even gentle cleaners can irritate skin and eyes with prolonged exposure during extensive restoration projects.
- Finishing and Protection Products: Food-safe oils for cast iron seasoning, stainless steel polish for maintaining shine, and proper storage solutions to prevent future damage and tarnishing.
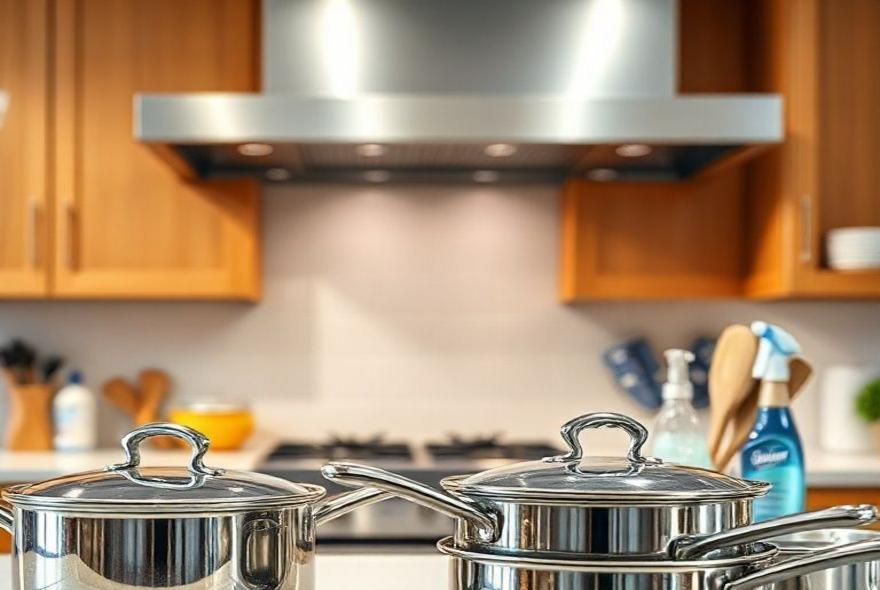
Stainless Steel Revival: From Dull to Dazzling
Stainless steel cookware restoration is probably the most rewarding type of cookware revival you can tackle – the transformation from dull, water-spotted, and stained to mirror-bright and gleaming is honestly pretty magical. The key to successful stainless steel restoration lies in understanding that those rainbow heat marks, water spots, and general dullness aren’t permanent damage – they’re surface issues that respond beautifully to the right cleaning approach. We think the biggest mistake people make is using the wrong products or techniques, which can actually make stainless steel look worse instead of better.
- Heat Stain Elimination: Those colorful rainbow marks from overheating aren’t permanent – they disappear completely with the right cleaning paste applied in circular motions, followed by buffing in the direction of the steel’s grain pattern.
- Water Spot Removal: Hard water deposits and mineral buildup respond to acid-based cleaners that dissolve the calcium and magnesium deposits, but always follow the grain direction when scrubbing to avoid creating visible scratch patterns.
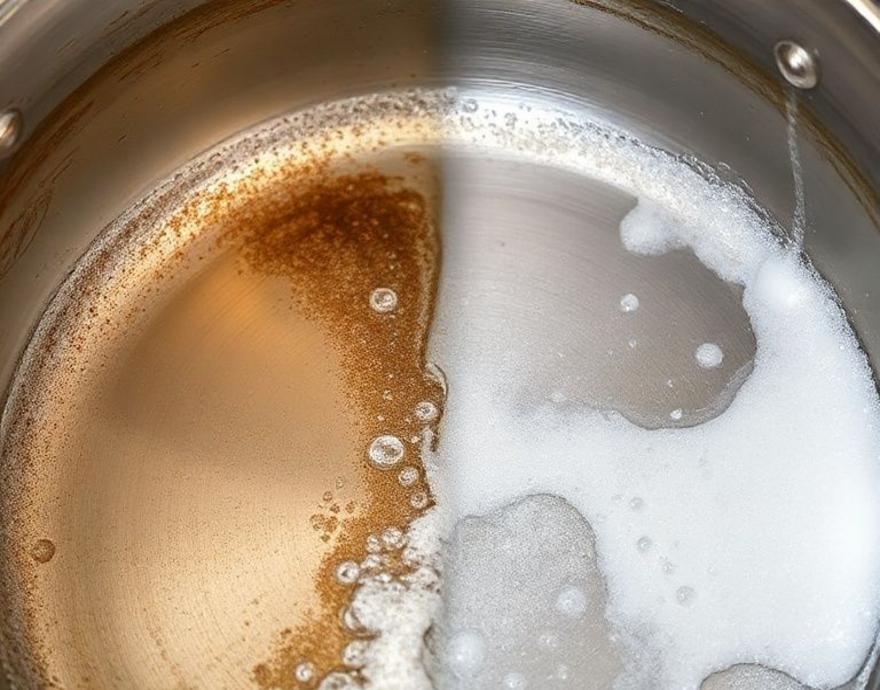
- Burnt-On Food Rescue: Even severely burnt stainless steel pans can be saved by creating a paste with cleaning powder and water, letting it sit for 15-20 minutes, then scrubbing with appropriate pressure and technique.
- Interior Staining Solutions: Protein stains and discoloration inside pots and pans often come out with soaking methods combined with gentle abrasive action, restoring the interior to like-new condition.
- Maintenance Prevention: Once restored, proper drying techniques and occasional deep cleaning prevent the buildup that leads to major restoration projects, keeping your stainless steel looking great long-term.
Cast Iron Resurrection: Bringing Old Iron Back to Life
Cast iron restoration is like archaeology meets cooking – you’re literally uncovering layers of history to reveal the beautiful cooking surface underneath. Unlike other cookware materials, cast iron restoration often involves completely stripping away years of buildup, rust, and old seasoning to get back to bare metal before rebuilding the cooking surface from scratch. It’s definitely more involved than other types of cookware restoration, but the results are absolutely worth it when you transform a rusty, crusty piece into a smooth, non-stick cooking machine that’ll last for generations.
- Rust Assessment and Removal: Surface rust comes off with specialized cleaners and steel wool, but deep pitting might require more aggressive methods or could indicate the piece is beyond practical restoration depending on severity.
- Stripping Old Seasoning: Sometimes you need to start completely fresh by removing old, flaky, or damaged seasoning layers using appropriate stripping methods that get down to bare iron without damaging the metal itself.
- Surface Preparation Techniques: Proper cleaning and preparation of the bare iron surface is crucial for successful re-seasoning – any soap residue, moisture, or contaminants will prevent proper seasoning adhesion.
- Re-Seasoning Process: Building up new seasoning layers requires the right oil, proper temperature control, and patience – rushing this step results in poor seasoning that flakes off or performs poorly.
- Long-Term Maintenance: Proper storage, regular use, and maintenance seasoning keep restored cast iron in perfect condition, preventing the need for future major restoration projects.
Copper and Aluminum Cookware: Specialized Restoration Approaches
Copper and aluminum cookware present unique restoration challenges that require different approaches than stainless steel or cast iron. Copper develops that greenish patina over time, while aluminum can become pitted, stained, or oxidized in ways that need special attention. You know what’s interesting though? These materials often respond dramatically to restoration efforts – we’re talking about transformations that make you question whether you’re looking at the same piece of cookware. The key is understanding how these metals behave and choosing restoration methods that work with their properties rather than against them.
- Copper Tarnish Removal: That green patina on copper bottoms isn’t just cosmetic – it can affect heat distribution, but it comes off beautifully with acid-based cleaners applied in circular motions until the original copper shine emerges.
- Aluminum Oxidation Treatment: White, chalky oxidation on aluminum cookware responds to specific cleaning approaches that remove the oxidation without damaging the underlying metal or creating an uneven surface texture.
- Pitting and Corrosion Issues: Minor pitting in aluminum can sometimes be minimized with careful polishing techniques, though deep corrosion might indicate safety concerns that make replacement the better option.
- Mixed-Material Challenges: Cookware with copper bottoms and stainless steel cooking surfaces requires different techniques for each material, often making restoration more time-consuming but definitely still worthwhile.
- Protective Finishing: Both copper and aluminum benefit from protective treatments after restoration to slow future tarnishing and oxidation, extending the time between major cleaning sessions.
Non-Stick Surface Evaluation: When to Restore vs. Replace
Here’s the hard truth about non-stick cookware restoration – sometimes the kindest thing you can do is let it go. Unlike other cookware materials that can be restored to better-than-new condition, non-stick coatings have a finite lifespan, and once they’re compromised, there’s no bringing them back safely. But before you toss everything in the trash, there are ways to evaluate whether your non-stick pieces are still safe and functional, plus techniques for maximizing the life of coatings that are still in decent shape.
- Coating Integrity Assessment: Look for chips, flakes, or areas where the coating is peeling – any visible damage to non-stick surfaces means it’s time for replacement since ingesting coating particles isn’t safe.
- Performance Evaluation: If food sticks consistently even with proper preheating and oil use, the coating has degraded beyond restoration and replacement is the only option for food safety and cooking performance.
- Surface Cleaning Techniques: Intact non-stick surfaces can be refreshed with gentle cleaning methods that remove built-up oils and food residue without damaging the delicate coating underneath.
- Preventive Maintenance: Proper care techniques can extend the life of non-stick coatings significantly, including temperature control, appropriate utensil use, and gentle cleaning methods that preserve the surface.
- Replacement Timing: Understanding when non-stick cookware has reached the end of its safe, useful life helps you make informed decisions about restoration efforts versus investing in new pieces.
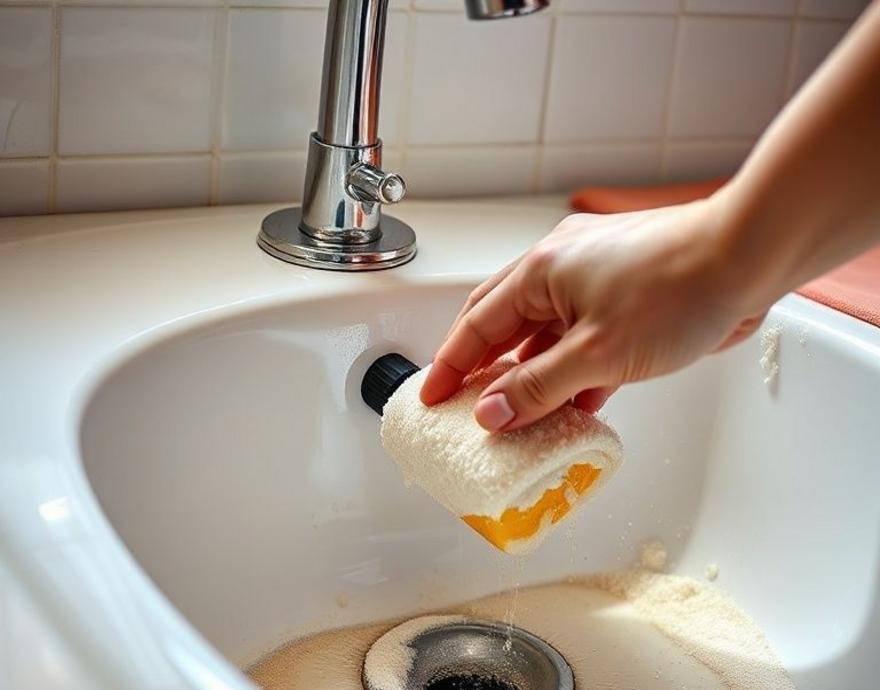
Deep Cleaning Techniques: Step-by-Step Restoration Processes
Now we’re getting to the meat and potatoes of cookware restoration – the actual step-by-step processes that transform disaster-zone pots and pans into gleaming kitchen tools. These aren’t quick five-minute fixes; proper cookware restoration takes time, patience, and the right sequence of steps. But when you see a burnt, stained, seemingly hopeless piece of cookware emerge looking factory-fresh, you’ll understand why people get addicted to restoration projects. The key is following proven processes rather than just scrubbing randomly and hoping for the best.
- Pre-Treatment Assessment: Start every restoration project by removing loose debris, soaking to soften stubborn buildup, and choosing the right cleaning products based on material type and damage severity.
- Progressive Cleaning Approach: Begin with the gentlest effective method and gradually increase intensity only as needed – this prevents unnecessary damage while still achieving complete restoration results.
- Paste Application Technique: Create cleaning pastes with the right consistency for maximum contact time and effectiveness, allowing active ingredients to work before applying mechanical scrubbing action.
- Scrubbing Pattern Methods: Use proper scrubbing techniques that follow the grain of metal surfaces, apply consistent pressure, and avoid creating scratch patterns that detract from the final appearance.
- Rinse and Neutralization: Thorough rinsing removes all cleaning residue and prevents ongoing chemical action that could damage surfaces, followed by proper drying to prevent water spots or flash rusting.
Post-Restoration Care: Maintaining Your Renewed Cookware
You’ve put in all that work to restore your cookware to like-new condition – now what? The difference between cookware that stays beautiful for years and pieces that quickly return to their pre-restoration state lies entirely in the maintenance routine you establish. We think this is where most people drop the ball; they do amazing restoration work but then go right back to the habits that caused the damage in the first place. Smart post-restoration care isn’t complicated, but it does require some changes to how you use, clean, and store your newly restored pieces.
- Proper Usage Techniques: Avoid temperature extremes, use appropriate utensils, and follow heating guidelines specific to each cookware material to prevent damage that restoration can’t easily fix.
- Daily Cleaning Routines: Establish gentle but thorough cleaning habits that prevent buildup of the deposits and stains that necessitated restoration in the first place, using the right products for each material type.
- Storage Solutions: Proper storage prevents scratching, denting, and moisture damage that can undo restoration work – invest in pan protectors, proper ventilation, and organization systems that protect your investment.
- Periodic Deep Cleaning: Schedule regular maintenance cleaning sessions to address minor buildup before it becomes major restoration projects, keeping your cookware looking great with minimal effort.
- Early Problem Detection: Learn to recognize the early signs of damage or deterioration so you can address issues promptly before they require extensive restoration efforts again.
Conclusion
Restoring cookware to its former glory can be as satisfying as the perfect sear on a steak. With our trusted checklist inspired by the Reddit community, you’re now armed with the best techniques for transforming tarnished pots into gleaming kitchen essentials. Remember, a little elbow grease combined with the right methods can work wonders. From using natural cleaning products to the magic of vinegar and baking soda, these time-tested tips have got you covered. So go ahead, rescue those beloved pans and let them shine on your stovetop once more. Your kitchen not only looks better, but it also feels better knowing your cookware has been revived with a bit of tender loving care.
And hey, if this inspired a cleaning spree but life’s too busy to squeeze it all in, we’re here to help! Wrapping this up, if you’re ready to tackle your home cleaning without the hassle, hit us up at Joy of Cleaning. Book a Cleaning online or call (727) 687-2710—we’ve got your back! And for more fun cleaning hacks and updates, don’t forget to follow us on Facebook and Instagram. We’ve got plenty more tips to make your home sparkle!